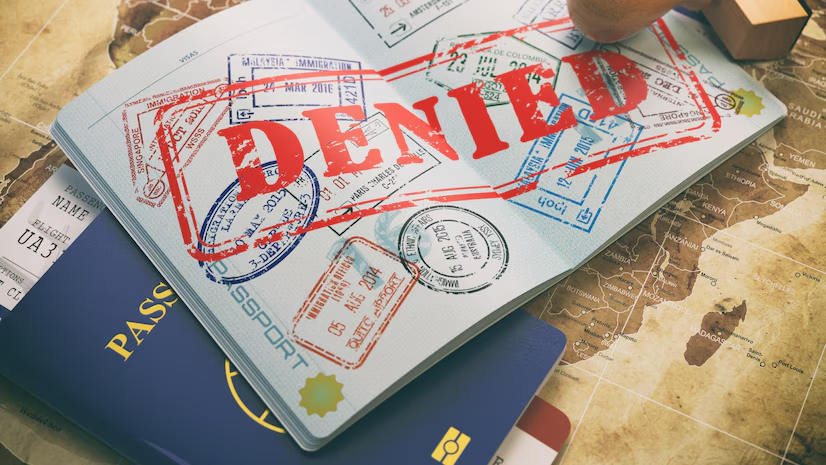
Getting a visa denied can be heartbreaking—especially when you’ve worked so hard to secure admission abroad. But don’t panic. You’re not alone, and more importantly, this isn’t the end of your journey.
In this blog, we’ll help you understand why visa rejections happen and what smart, practical steps you can take next. Whether it’s fixing documentation, preparing for reapplication, or exploring alternate routes—you still have options.
❌ Common Reasons Why Student Visas Get Denied
Before taking action, understand the why behind the rejection. Common reasons include:
- Insufficient financial proof
- Incomplete or incorrect documentation
- Weak ties to home country (visa officer fears you may not return)
- Inconsistent academic records
- Unclear purpose of visit or course mismatch
- Poor performance in the visa interview
- Late application or missing deadlines
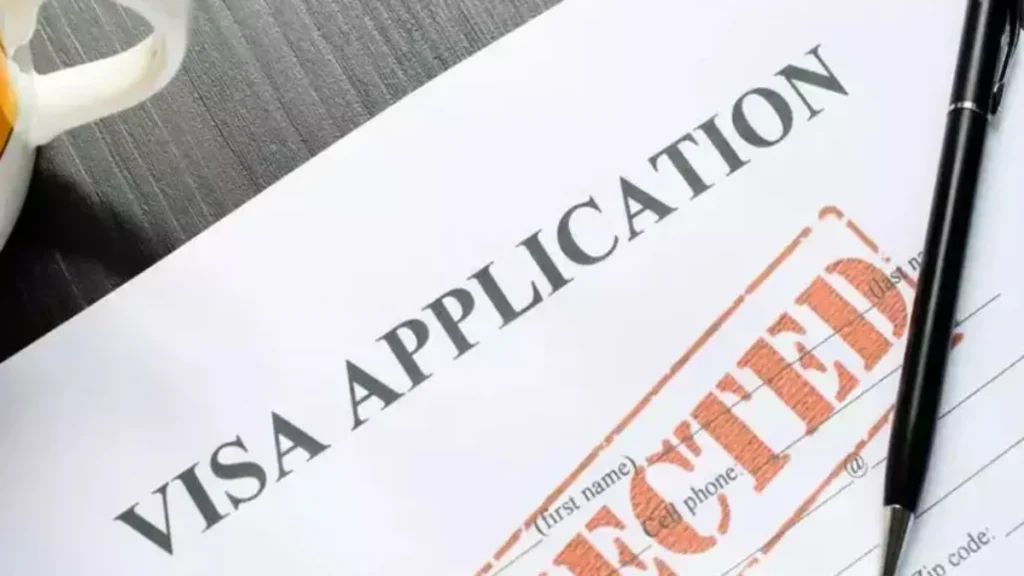
📌 Tip: Check the official rejection letter (or email) for specific reasons or codes.
🕵️ Step 1: Analyze Your Rejection Carefully
Don’t rush to reapply. First, understand the grounds for denial.
- Did your documents lack clarity?
- Was your financial backing questionable?
- Did your answers in the interview raise concerns?
💬 Talk to your agent or visa counselor—or reach out directly to the embassy for clarification, if allowed.
📁 Step 2: Gather Stronger Documents
Once you know what went wrong, fix the gaps before reapplying.
For example:
- Strengthen your financial documents (bank statements, sponsor letters)
- Add more proof of ties to your home country (property, family business, job offer)
- Clarify academic progression (if course seems unrelated)
- Include any new awards, scores, or letters to support your case


✍️ If possible, write a clear Statement of Purpose (SOP) explaining your goals and intention to return.
📆 Step 3: Know When You Can Reapply
Each country has its own rules:
- USA (F1 Visa): You can reapply anytime, but fix errors first
- Canada: You may need to wait and show new evidence or clarification
- UK: Reapply after correcting the grounds of refusal
- Australia: Often depends on reason + documentation, but reapplication is allowed
📌 Some embassies require fresh application fees—factor that into your timeline and budget.
🗣️ Step 4: Practice for the Interview
If your visa was rejected after an interview, prepare better this time.
- Be confident and consistent in your answers
- Avoid sounding like you plan to settle permanently
- Show genuine interest in your course and university
- Clarify how your education aligns with your career plans in India


💬 You can even do a mock interview with a counselor or friend.
🧠 Step 5: Explore Other Countries or Intakes
One rejection shouldn’t end your dream. If reapplying soon isn’t an option, consider:
- Applying to another country with similar programs
- Switching to the next intake (e.g., Fall to Spring)
- Choosing universities with high visa success rates
- Applying under different streams (SDS, non-SDS, etc.)
At Abroad Dream, we help students find backup plans that don’t compromise their goals.
💼 Step 6: Stay Calm and Plan Smart
This is crucial.
Yes, a rejection feels like a setback—but it can also be a powerful learning experience. Many students get visas on their second or even third attempt, especially after improving their profile.
So:
- Stay mentally strong
- Get expert advice
- Take time to prepare, not rush
- Keep backup options ready
🌱 Your international future is still within reach.

🌟 Final Thoughts
A visa denial is disappointing—but it’s not a dead end. With patience, proper documentation, and preparation, many students successfully reapply and go on to have a fantastic study abroad experience.
At Abroad Dream, we’re committed to turning setbacks into comebacks. Let us guide you every step of the way.

